-
Download and install Solr, if necessary.
We have expanded the zip file and moved its contents to C:\Solr so we will use that folder in the steps below.
-
Download and install AlwaysUp, if necessary.
-
Start AlwaysUp.
-
Select Application > Add to open the Add Application window:
-
As mentioned in the Running Solr documentation,
Solr can be started using the SOLR.CMD file in the bin folder. To set that up on the General tab:
-
In the Application field, enter the full path to your SOLR.CMD file.
Since we installed Solr in C:\Solr, this is:
C:\Solr\bin\solr.cmd
Be sure to use your own installation folder instead!
-
In the Arguments field, enter start.
-
In the Name field, enter the name that you will call the application in AlwaysUp.
We have specified Solr but you can specify another name if you like.
-
Click over to the Logon tab and enter the user name and password of the Windows account in which you installed and run Solr.
Solr must run in this account so that it can find its settings and environment variables (JAVA_HOME, etc.).
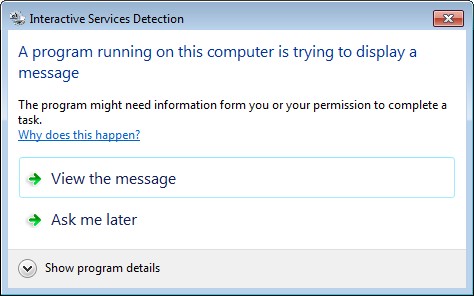
And while you're here, we suggest checking the When a user logs on, don't show the application's windows and tray icons box at the bottom. Doing so will prevent
annoying popups from the Interactive Services Detection Service
as the SOLR.CMD script shows its transient windows.
-
Click over to the Startup tab and check the Ensure that the Windows Networking components have started box.
This informs AlwaysUp that Solr needs TCP/IP networking support to do its work.
-
The Solr documentation recommends running the SOLR.CMD script to safely stop the server, so let's set that up on the Extras tab:
-
In the Use this special command to stop the application field, enter the full command line to stop all instances of Solr.
For our installation, this is:
C:\Solr\bin\solr.cmd stop -all
-
And in the Wait for up to controls below, enter 30 seconds to give Solr extra time to stop smoothly.
-
We're done configuring Solr so click the Save >> button to record your settings. In a couple of seconds, an application called Solr will show up in the AlwaysUp window.
It is not yet running though, and the State column will say Stopped.
-
To start Solr from AlwaysUp, choose Application > Start "Solr". In a couple of seconds, the Status column will change to Running.
You should be able to access Solr from your web browser now (port 8983 by default):
-
That's it! Next time your computer boots, Solr will start up immediately, in the background in Session 0, without anyone needing to log on.
Please restart your server now and test that Solr works as expected after Windows boots up.
And please feel free to edit Solr in AlwaysUp to check out the many other settings that may be appropriate for your environment.
For example, boost Solr's priority to give it more resources on the server, send email alerts if it stops, etc.


