
To transfer your AlwaysUp Windows Services to a new computer, please follow this 4-step process:
1. Export your AlwaysUp Application(s) from your Existing Server
If you don’t want to move any applications/services from your old server, go straight to step 2.
Otherwise, to export each of your AlwaysUp applications to a XML file:
Select Application > Export All… to summon the Browse For Folder selector:
")
")
Choose the folder where you would like the XML files to be saved.
Copy the XML files to a flash drive, or make them available on a network share that is accessible from your new PC. You will need them in step 3.
2. Download & Install AlwaysUp on your New Server
On your new PC, download AlwaysUp from our web site and follow these step-by-step instructions to install it.
")
3. Import your AlwaysUp Application(s) into your New Installation
If you exported applications in step 1, now is the time to import each of them into your new installation. On your new PC:
Select Application > Import…
")
Next, select the XML file representing the service you wish to restore. This will launch the Add Application window, already populated with the details of your service.
Review your application’s settings. Please pay special attention to the path to your main executable or script on the General tab (or any other file locations configured for your service) which may be different on this new PC.
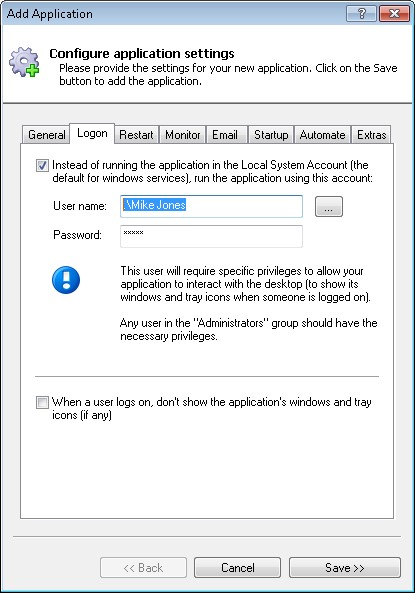
Note that you may have to re-enter your Windows password on the Logon tab because that password was not exported along with your other settings (to enforce security standards).
Click the Save>> button to record this service.
Please repeat these steps for each of the applications/services you wish to restore.
4. Register AlwaysUp on your New Server
Chances are that the registration code assigned to your old PC won’t work on the new computer. You’ll need to:
That’s it! Best of luck with your new machine!


