-
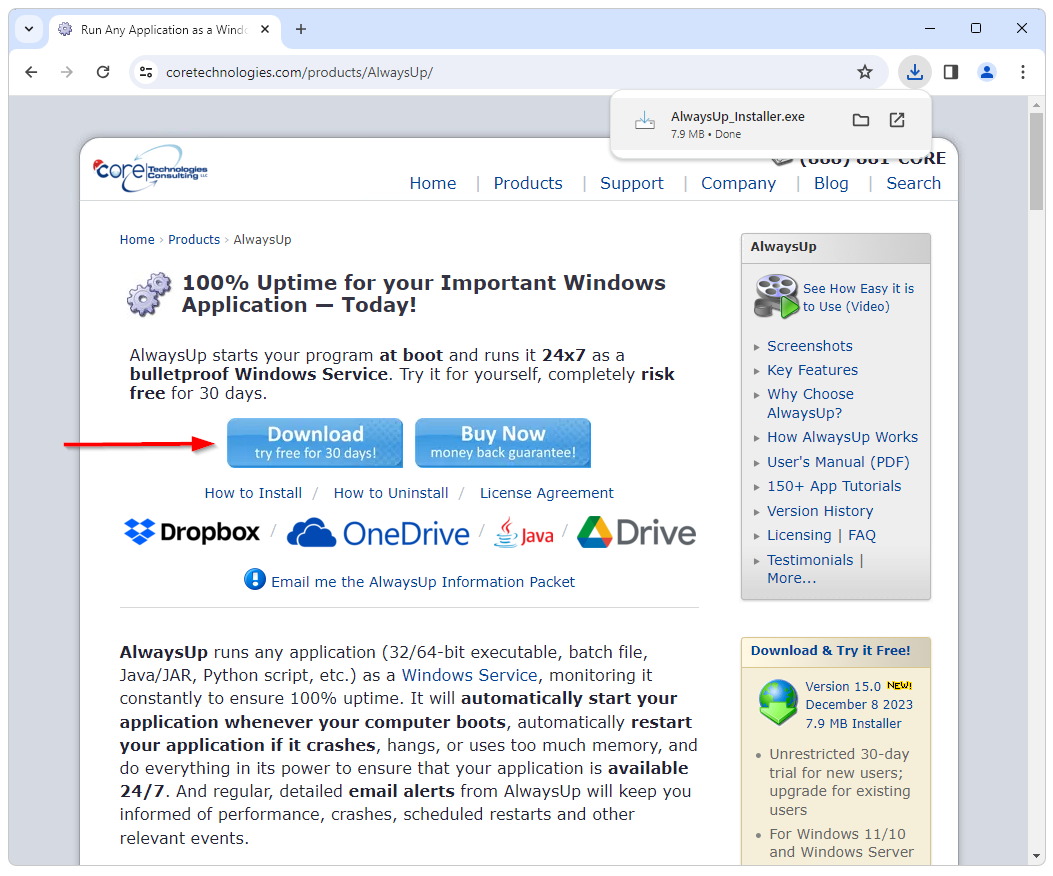
Download AlwaysUp, if necessary:
- Click here to get the latest version of AlwaysUp.
-
Your browser may ask you to confirm the download.
Choose to Open (or Run) the installer if possible; otherwise save it to your hard drive and start it manually from there.
Here's what you may see when downloading with Google Chrome:
-
If you weren't able to launch the installer directly from your browser, double-click the downloaded file (AlwaysUp_Installer.exe) to start it.
-
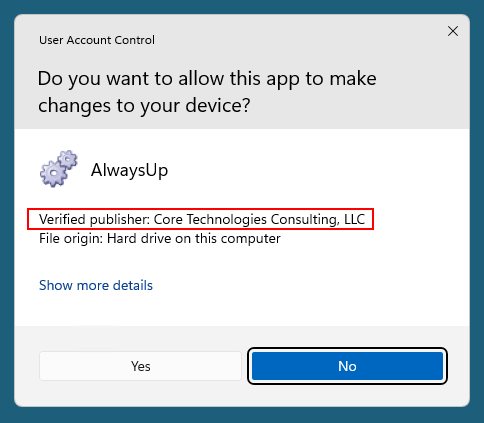
On some versions of Windows, you'll see a
User Account Control (UAC)
security prompt:
AlwaysUp is digitally signed for your protection
and our company name (Core Technologies Consulting, LLC) should be prominently displayed.
That's just one of the many safety features built into AlwaysUp.
Click Yes to continue.
-
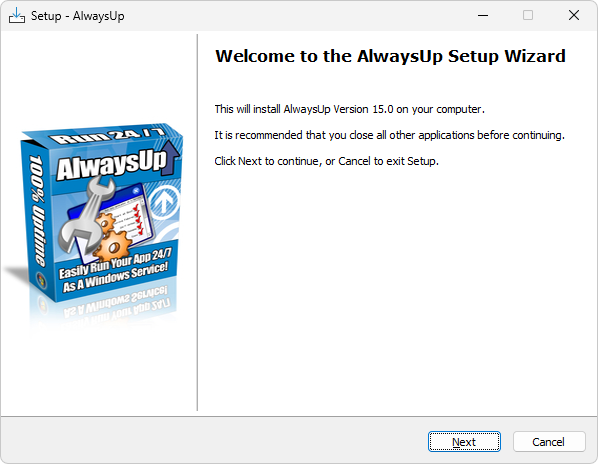
The installation starts off with a welcome screen. Click Next to continue:
-
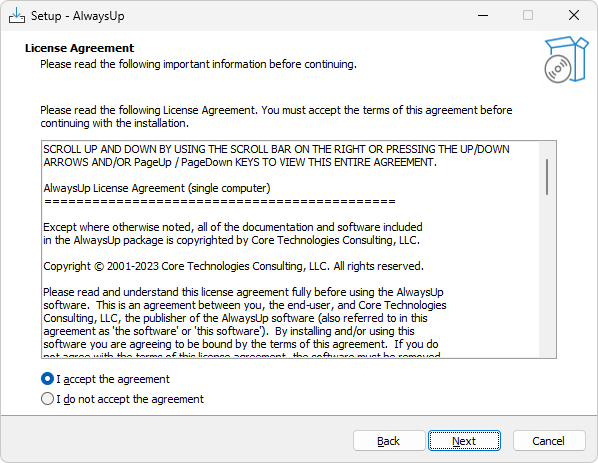
You have arrived at the obligatory license agreement screen. Does anyone read these things?
Select the I accept the agreement option and click Next when you're ready to continue:
-
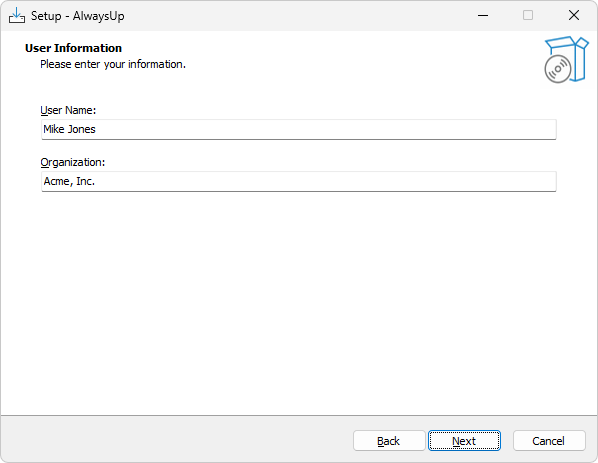
Enter your name and organization (optional) and click Next to move on:
-
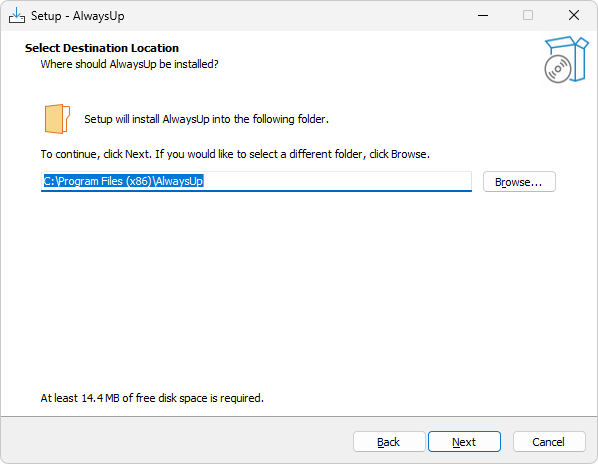
By default, AlwaysUp will be installed in C:\Program Files (x86)\AlwaysUp.
If you wish to install it elsewhere, enter the new location and click Next to continue:
-
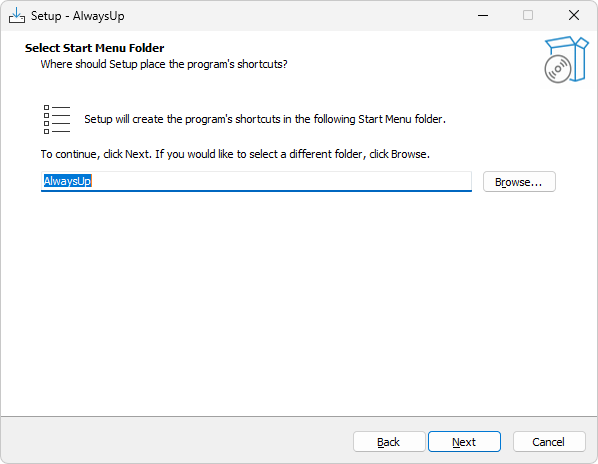
AlwaysUp creates an entry in your Start menu and you can alter its name here if you wish. Click Next to proceed:
-
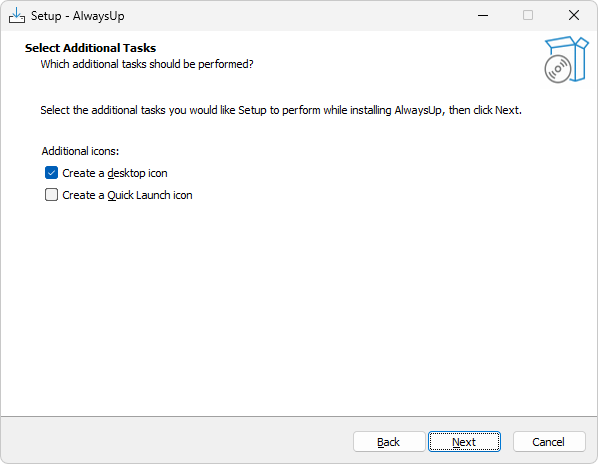
Choose the icons that will make it convenient for you to run AlwaysUp. As usual, click Next to continue:
-
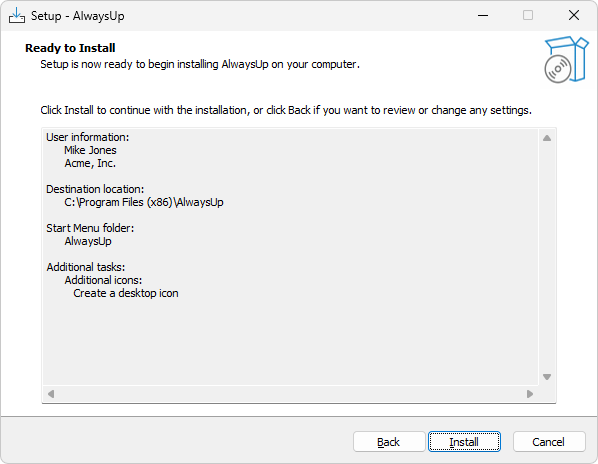
We're ready to install! Click Install to start the magic:
-
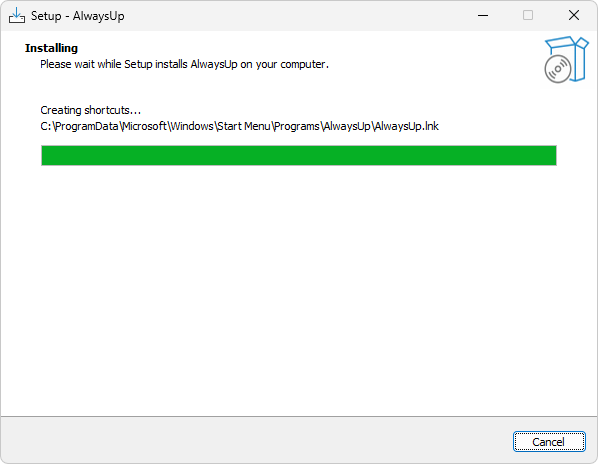
It will take a few seconds to copy the files:
-
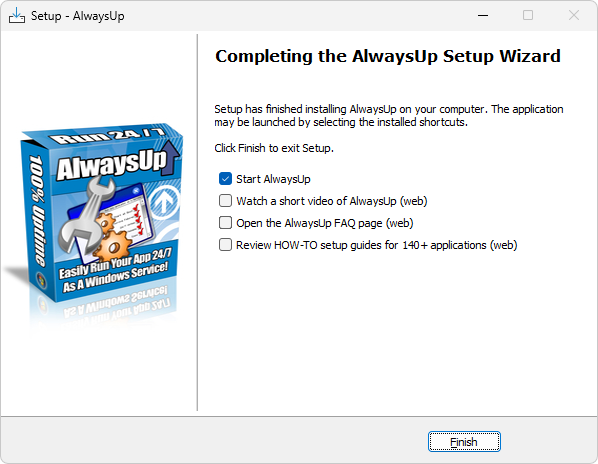
This is the final step. Select what you would like to do next (start AlwaysUp, watch a how-to video, etc.) and click Finish.
-
Congratulations, you're all done. Go grab some chocolate to celebrate!

