-
Download and install AlwaysUp, if necessary.
-
Download and install the Java runtime environment (JRE), if necessary.
Please make a note of where you installed it as this will be used in a later step.
-
Download the Selenium Server JAR file, if necessary. Save it to a well known location. We have downloaded
version 2.13.0 (selenium-server-standalone-2.13.0.jar) and placed it in C:\Selenium.
-
Start AlwaysUp.
-
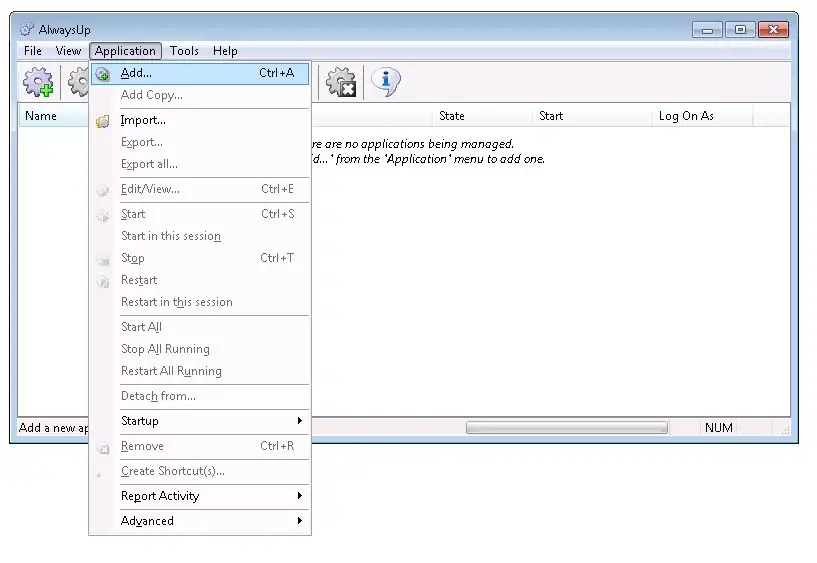
Select Application > Add to open the Add Application window:
-
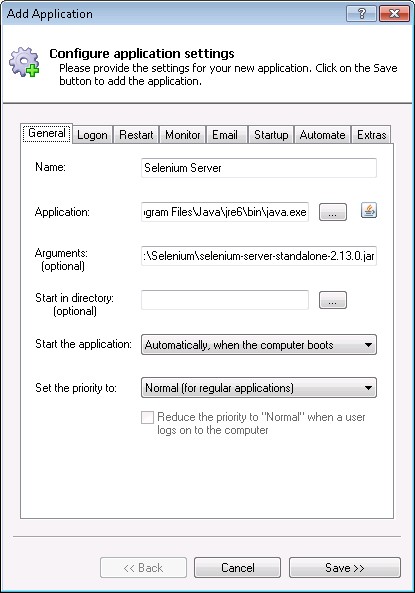
On the General tab:
-
In the Application field, enter the full path to the java executable.
If you installed Java in the default location, this is
C:\Program Files\Java\jre6\bin\java.exe
-
In the Arguments field, specify:
-Xrs -jar C:\Selenium\selenium-server-standalone-2.13.0.jar
-
In the Name field, enter the name that you will call the application in AlwaysUp.
We have used Selenium Server but you can specify almost anything you like.
-
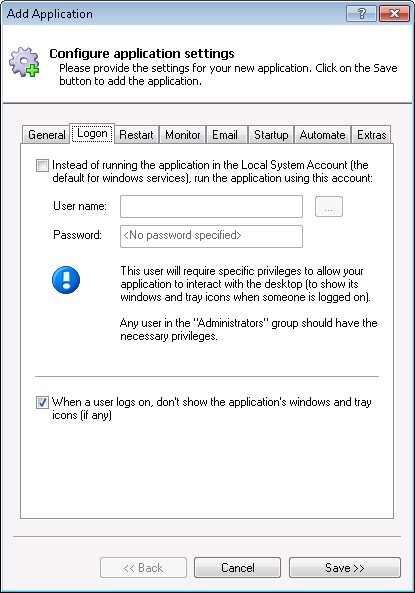
By default, a java will show a command window when it runs Selenium. This can be useful for
debugging purposes, but if you wish to avoid seeing it, click over to the Logon tab and check the When a user logs on, don't show the application's windows... box.
Note: You may want to omit this step until you have confirmed that Selenium is working properly.
-
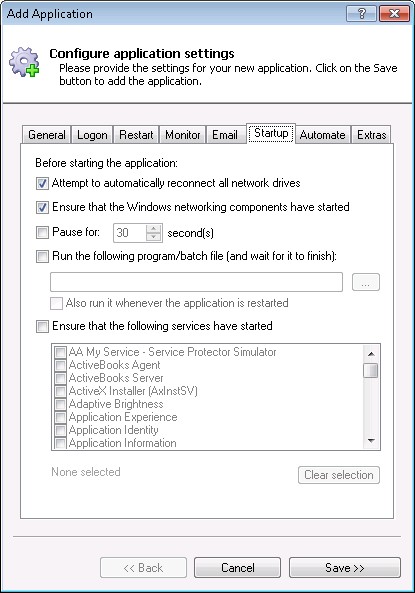
Click over to the Startup tab and check the Ensure that the Windows Networking components have started box.
This informs AlwaysUp that Selenium server needs TCP/IP networking support to do its work.
-
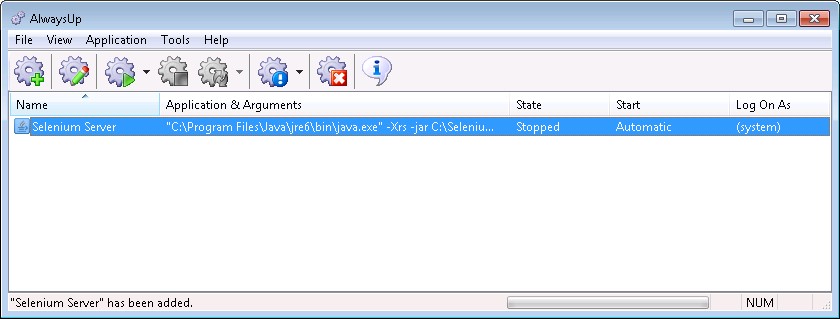
Click the Save button. In a couple of seconds, an application called Selenium Server will show up in the AlwaysUp window.
It is not yet running though.
-
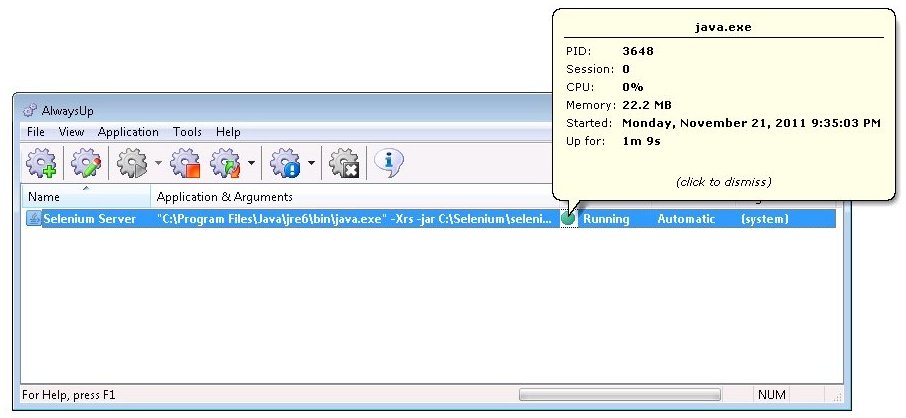
To start the server choose Application > Start "Selenium Server".
-
That's it! Next time your computer boots, Selenium Server will start up immediately, before anyone logs on.
We encourage you to edit the entry in AlwaysUp and check out the many other settings that may be appropriate for your environment.

