-
If necessary, install and configure FitNesse.
Download the FitNesse JAR file,
fitnesse-standalone.jar, and place it in its own folder.
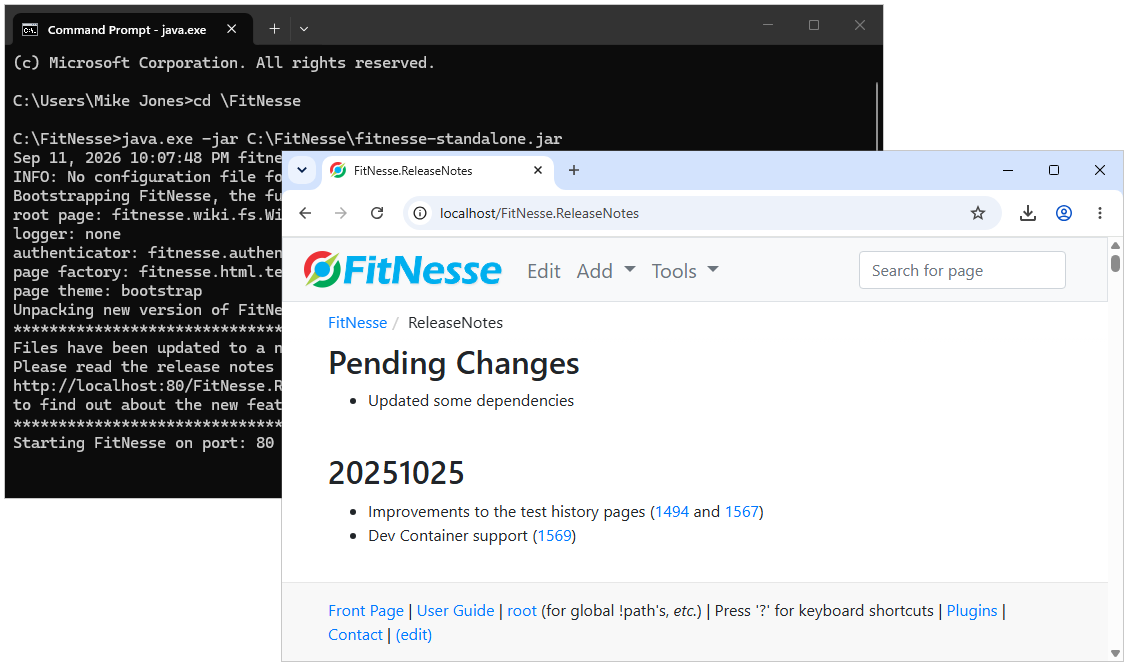
Make sure that you can start FitNesse from a command prompt and access it from your browser.
Since we put the JAR in C:\FitNesse, this command worked on our machine:
java.exe -JAR C:\FitNesse\fitnesse-standalone.jar
-
Download and install AlwaysUp, if necessary.
-
Start AlwaysUp.
-
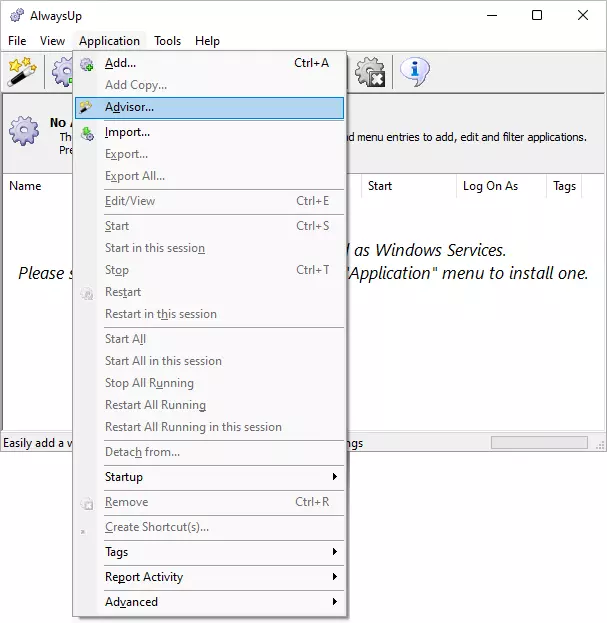
Select Application > Advisor to open the Application Advisor window:
-
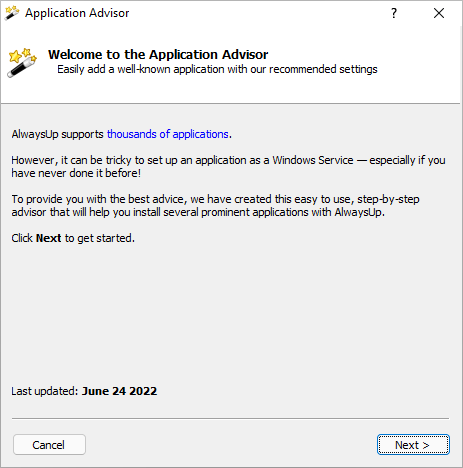
Click Next to move past the welcome page:
-
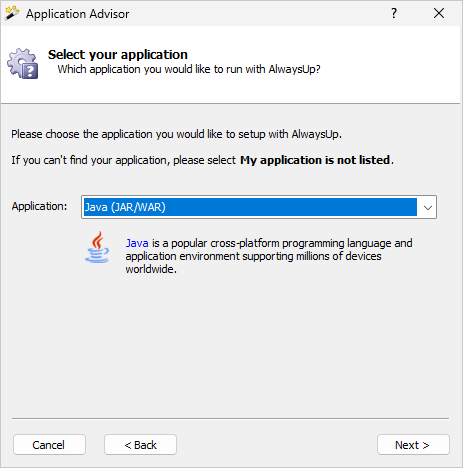
Since FitNesse is a Java based product, choose Java (JAR/WAR) from the list of applications:
Click Next to proceed.
-
AlwaysUp will spend a few seconds figuring out where you installed Java.
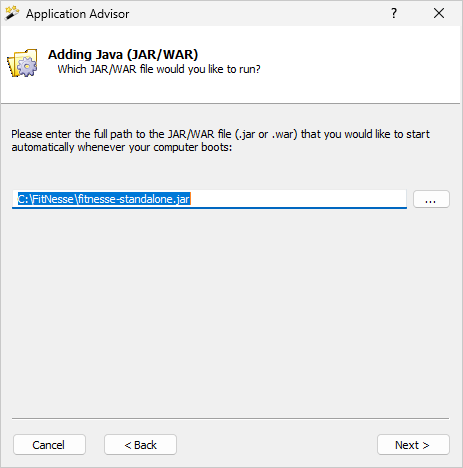
Afterwards, you will be prompted to enter the full path to the FitNesse JAR file.
That's "C:\FitNesse\fitnesse-standalone.jar" on our system but your path may vary:
Click Next to move on.
-
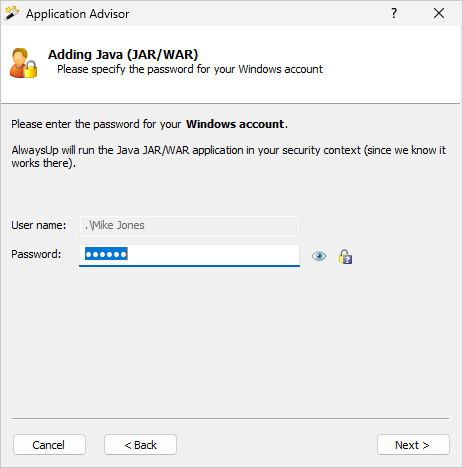
The service must run in your Windows user account, where you've installed Java and run FitNesse.
Please enter your password:
Click Next.
-
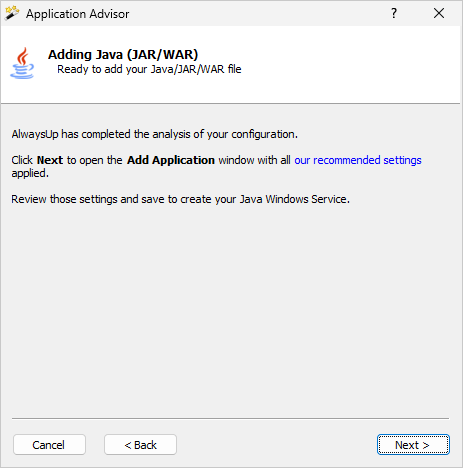
The application advisor is done collecting the settings for installing FitNesse as a Windows Service.
Click Next to launch the Add Application window:
-
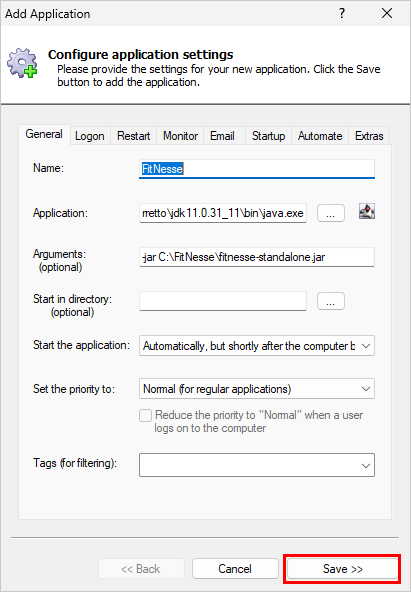
If you like, change the Name to "FitNesse".
Click the Save button to record your settings:
-
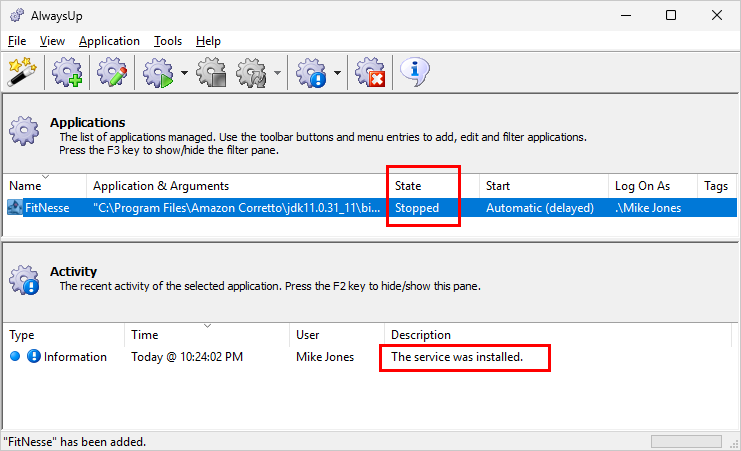
In a few seconds, a new entry for FitNesse will appear in the AlwaysUp window.
The service has been installed but it's not running yet (it's in the "Stopped" state):
-
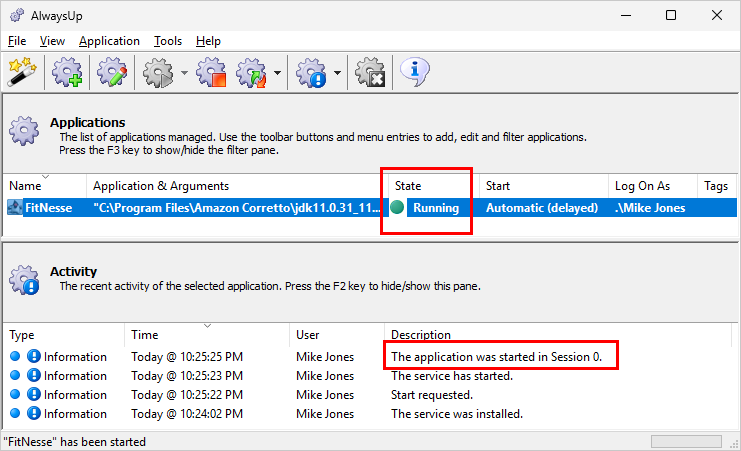
To start FitNesse as a Windows Service, choose Application > Start "FitNesse".
The state will transition to "Running" and FitNesse will start invisibly in the background:
-
That's it! Next time your computer reboots, FitNesse will start up immediately, before anyone logs on. Try it yourself.
We encourage you to edit the application in AlwaysUp and check out the many other settings that may be appropriate for your environment.
For example, configure AlwaysUp to send you an email whenever FitNesse starts (Email tab),
or boost FitNesse's priority to give it preferential treatment on your PC (General tab).