-
Download and install Trac, if necessary. Formulate the
command line that will run tracd from a command prompt on your computer.
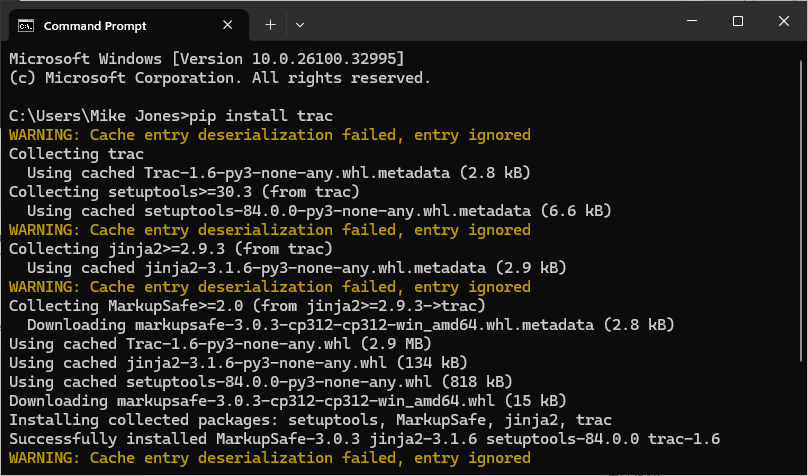
After downgrading to Python 3.12, we installed Trac on our machine with "pip install trac":
And this command launched tracd to serve our CTC project:
tracd -p 8080 C:\Trac\Projects\CTC
-
Download and install AlwaysUp, if necessary.
-
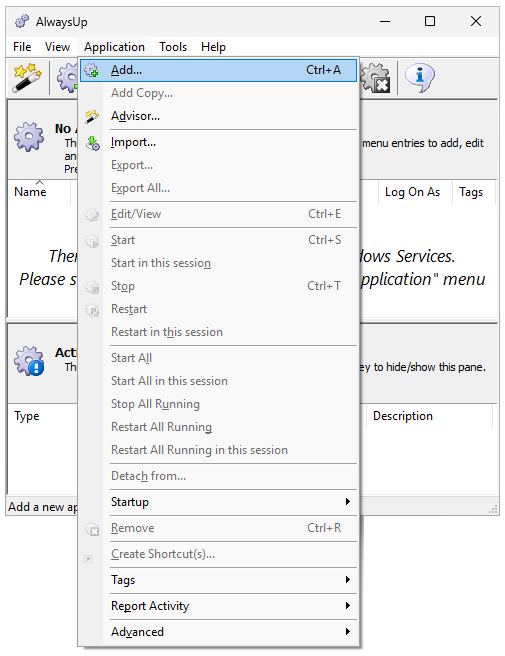
Start AlwaysUp.
-
Select Application > Add to open the Add Application window:
-
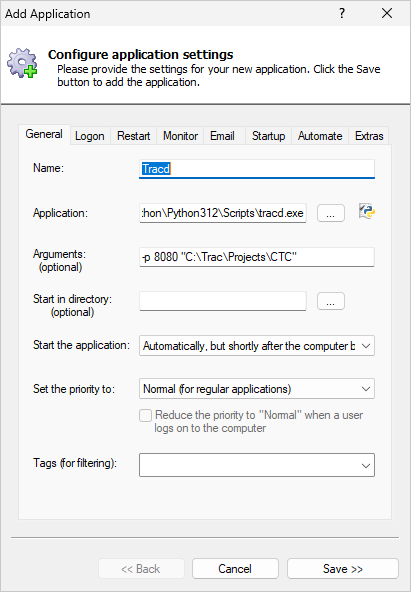
On the General tab:
-
In the Application field, enter the full path to the Tracd executable, tracd.exe.
If you don't know the full path offhand, find it by running "where tracd" from a command prompt.
-
In the Arguments field, enter your arguments to tracd.exe. We entered the parameters identified in step 1.
-
In the Start the application field, choose Automatically, but shortly after the computer boots.
This setting introduces a short delay before AlwaysUp starts tracd.exe whenever the machine boots.
That should be enough time for critical supporting services to initialize themselves and be ready.
-
And in the Name field, enter the name that you will call the application in AlwaysUp.
We stuck with the default Tracd but you can specify virtually anything you like.
-
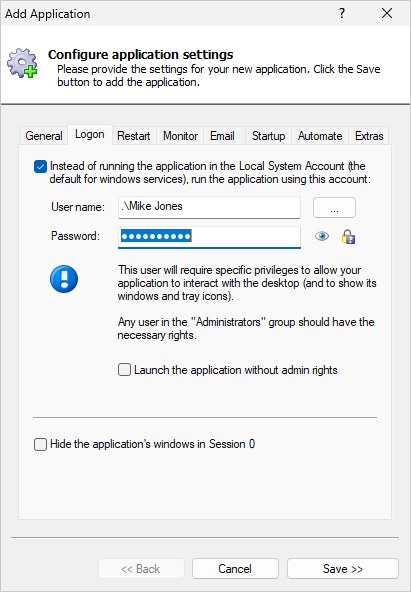
Move to the Logon tab and enter the username and password of the Windows account in which you installed and use Trac.
The service must run in this account so that Trac and Python can find their settings.
-
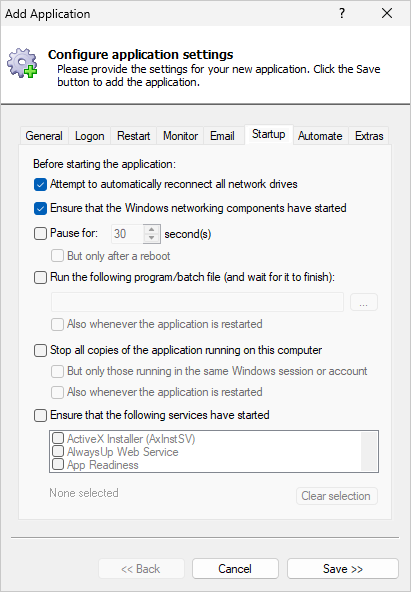
Move to the Startup tab and check the Ensure that the Windows Networking components have started box.
This informs AlwaysUp that Tracd needs TCP/IP networking support to do its work.
-
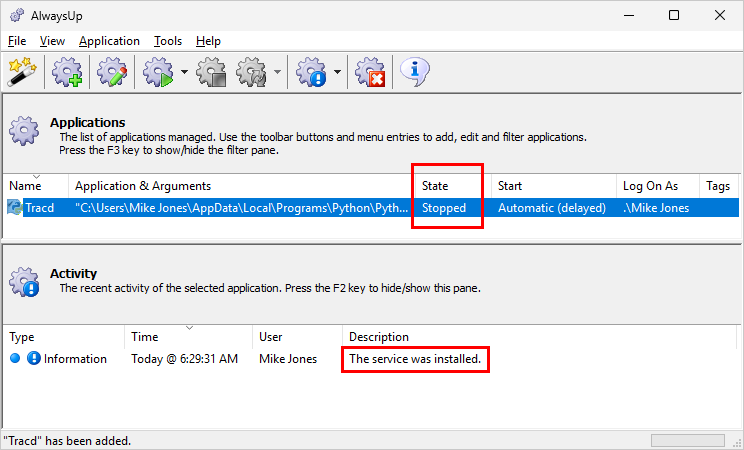
Click the Save button. In a couple of seconds, an application called Tracd will show up in the AlwaysUp window.
At this point, Tracd is installed as a Windows Service. But it's not yet running and the state will be "Stopped":
-
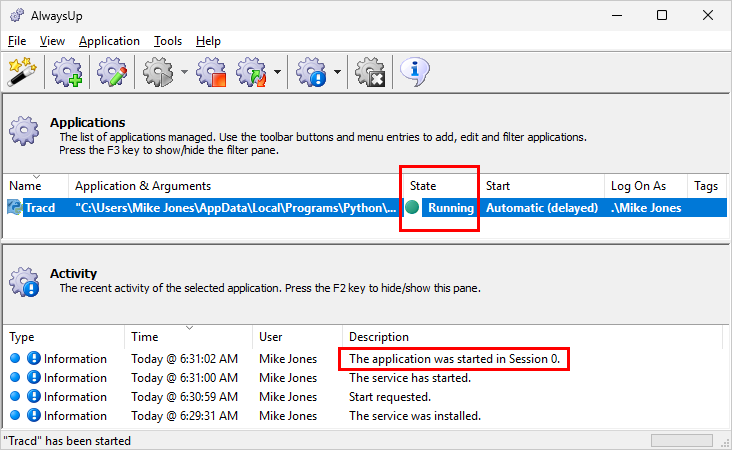
To start Tracd from AlwaysUp, choose Application > Start "Tracd". The state will transition to "Running":
Finally, open the browser and confirm that your project is being served as expected.
-
That's it! Next time your computer boots, Tracd will start up immediately, before anyone logs on.
We encourage you to edit Tracd in AlwaysUp and check out the many other settings that may be appropriate for your environment.
For example,
setup email notifications,
capture console output,
setup a sanity check to detect network failures,
and much more.