-
Download and install AlwaysUp, if necessary.
-
Download and install PDFCreator, if necessary.
Please make a note of where you installed it as this will be used in a later step.
-
Next, you should prepare PDFCreator to run unattended.
When run with AlwaysUp, no one may be logged on to dismiss PDFCreator's confirmation and notification dialogs.
Start PDFCreator as an administrator and go through the options (select Printer > Options)
and deactivate all settings that may prompt for input. We recommend the following:
-
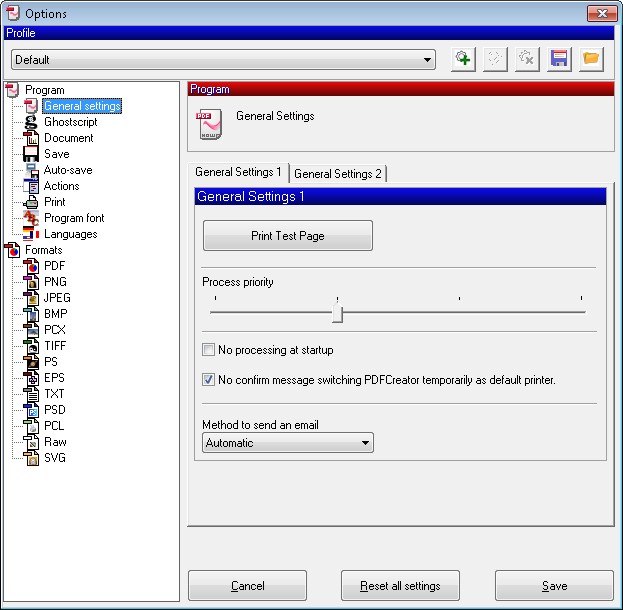
General Settings > General Settings 1: Enable No confirm message switching PDFCreator temporarily as default printer:
-
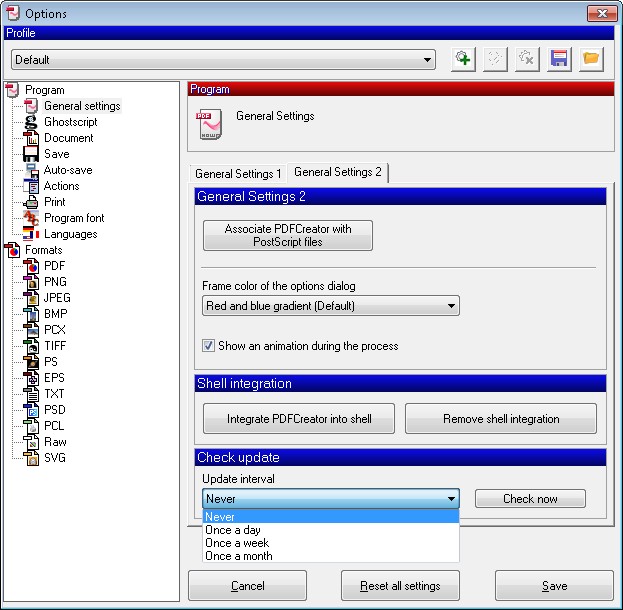
General Settings > General Settings 2: Disable checking for updates
-
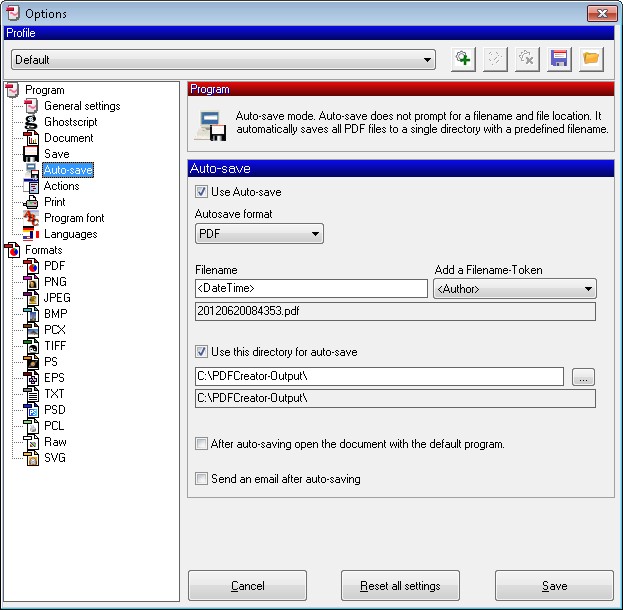
Auto-save: Configure automatic saving without prompting
Please be sure to review all the settings particular to your situation and eliminate other potential interruptions!
Click the Save button when you are done.
-
Start AlwaysUp.
-
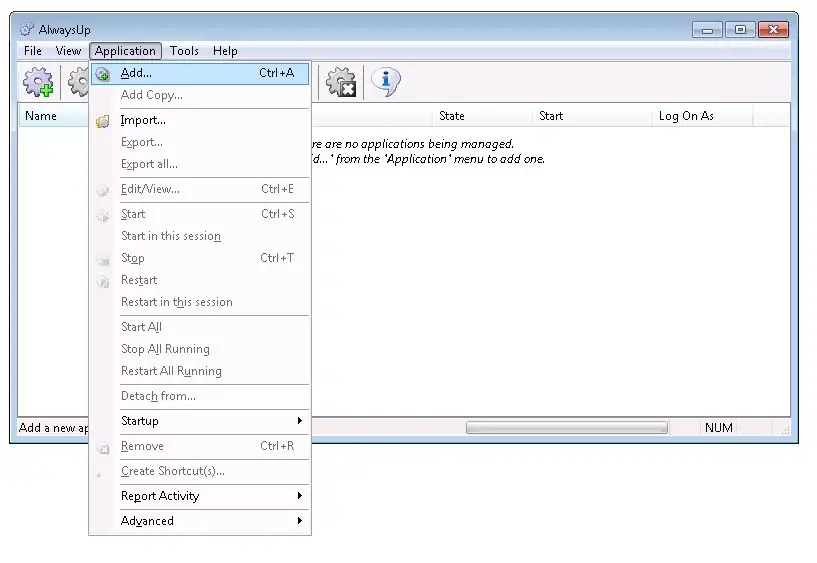
Select Application > Add to open the Add Application window:
-
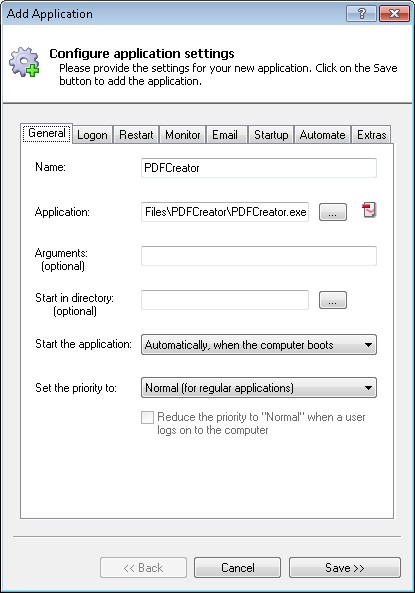
On the General tab:
-
In the Application field, enter the full path to the PDFCreator executable, PDFCreator.exe.
If you installed PDFCreator in the default location, this is:
C:\Program Files\PDFCreator\PDFCreator.exe
-
In the Name field, enter the name that you will call the application in AlwaysUp.
We have used PDFCreator but you can specify almost anything you like.
-
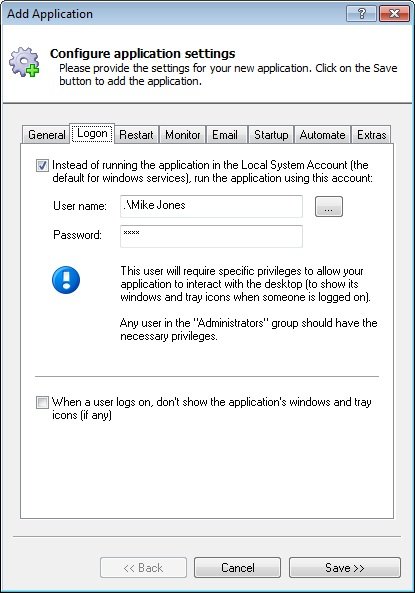
Click over to the Logon tab and enter the user name and password of the account in which you installed and configured PDFCreator.
PDFCreator must run in this account so that it can find its settings.
-
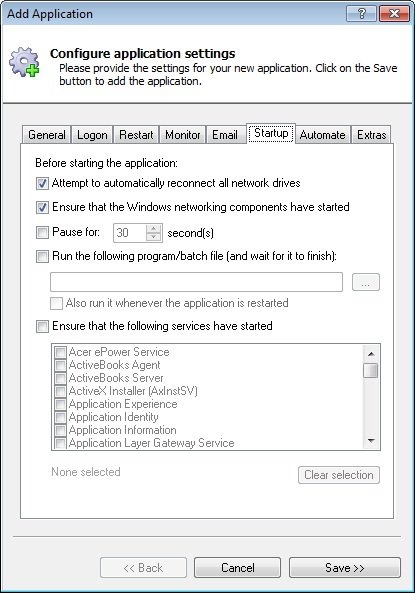
Move to the Startup tab and check the Ensure that the Windows Networking components have started box.
This informs AlwaysUp that PDFCreator needs TCP/IP networking support to do its work.
-
Click the Save button.
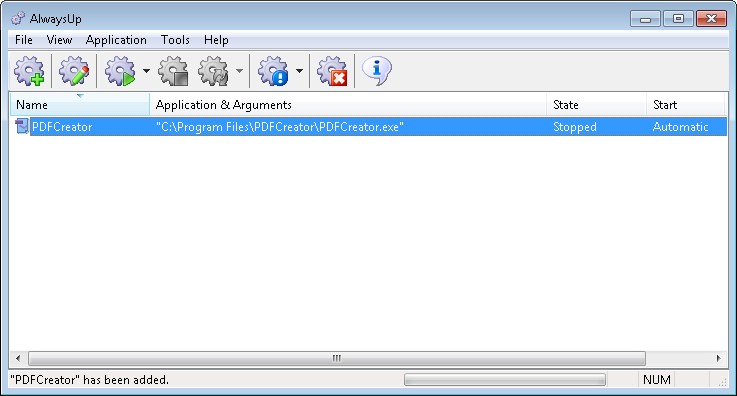
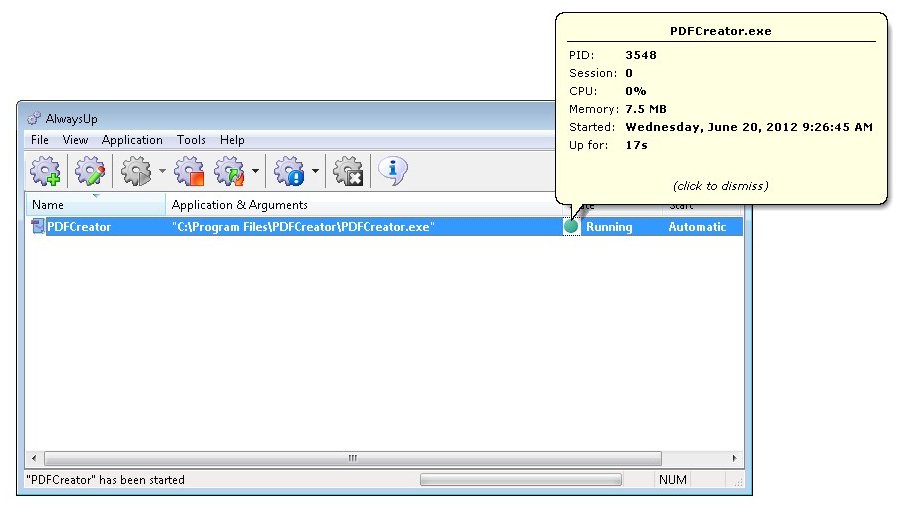
In a couple of seconds, an application called PDFCreator (or whatever you called it) will show up in the AlwaysUp window.
It won't be running though, and the state will be "Stopped":
-
If PDFCreator is running on your desktop, please close it now. We are about to start it with AlwaysUp.
-
To start PDFCreator as a Windows Service from AlwaysUp, choose Application > Start "PDFCreator".
You won't see PDFCreator's window pop up on your screen
(because of Session 0 isolation)
but it will be running in the background and printing should proceed normally.
If you do wish to see PDFCreator normally on your desktop, select Application > Restart "PDFCreator" in this session from AlwaysUp.
Doing so will quickly quit your PDFCreator and restart it visibly on your desktop.
-
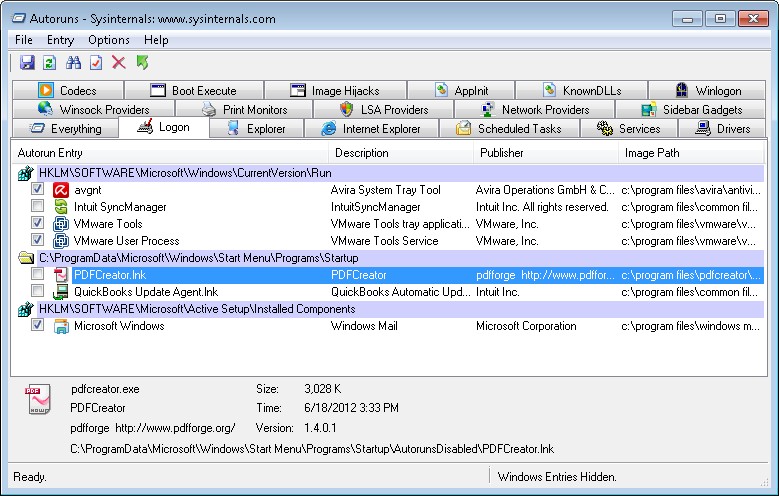
And now that PDFCreator will always be running in the background, there is no need to start it again when you log on.
We recommend using the
free Autoruns tool from Microsoft
to disable PDFCreator's auto-start but any "startup manager" should do the trick.
With Autoruns, click over to the Logon tab and un-check the box beside the PDFCreator entry:
-
That's it! Next time your computer boots, PDFCreator will start up immediately, before anyone logs on.
We encourage you to edit the entry in AlwaysUp and check out the many other settings that may be appropriate for your environment.
Boost priority, send email and much more!

