-
First, ensure that Kafka and its supporting software are installed and working properly on your system. Formulate the command line that starts the server from a prompt.
For this guide, we installed Kafka in "C:\Kafka" and this command stats our server:
C:\Kafka\bin\windows\kafka-server-start.bat C:\Kafka\config\broker.properties
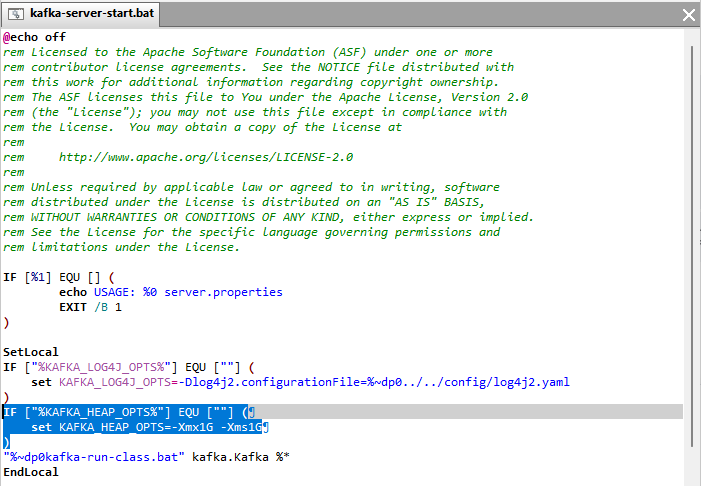
Note that we had to update the "kafka-server-start.bat" file to avoid the use of the
now defunct WMIC utility:
Hopefully the folks at Apache will fix that soon.
-
Download and install AlwaysUp, if necessary.
-
Start AlwaysUp.
-
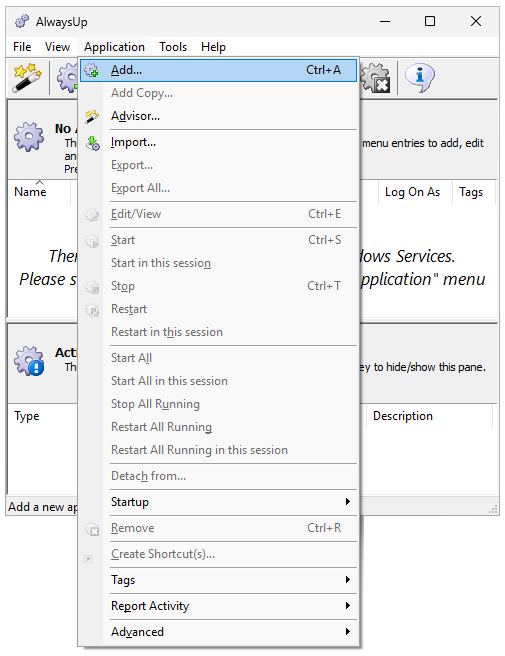
Select Application > Add to open the Add Application window:
-
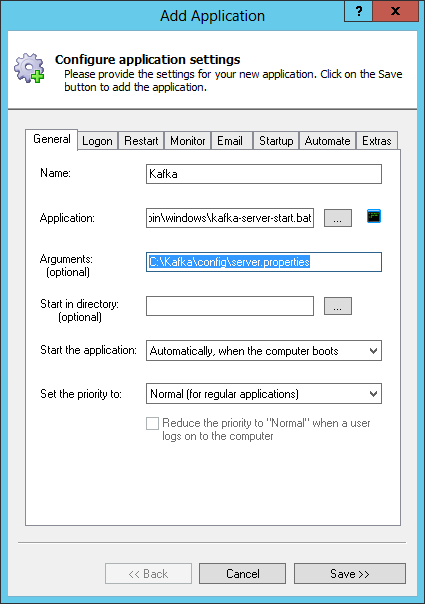
On the General tab:
-
In the Application field, enter the full path to the batch file that starts Kafka, kafka-server-start.bat.
This should be in the bin\windows folder in your Kafka installation directory.
-
In the Arguments field, enter the full path to your Kafka settings file. This is likely in the config sub-folder.
-
In the Start the application field, choose Automatically, but shortly after the computer boots.
This setting ensures that critical supporting services will be up and running before AlwaysUp launches Kafka.
-
And in the Name field, enter a name for this application in AlwaysUp.
We chose Kafka but you can specify another name if you like:
-
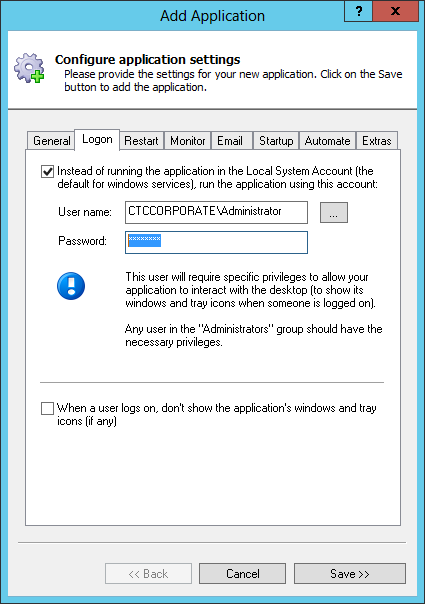
Click over to the Logon tab and enter the user name and password of the windows account that you log into to start Kafka.
Running in this account will ensure that Kafka will find your Java installation along with the required environment variables
(JAVA_HOME) and other necessary settings:
-
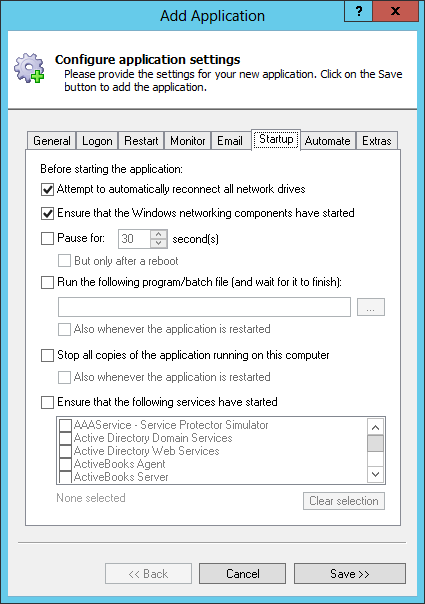
Next, switch to the Startup tab and check the Ensure that the Windows Networking components have started box.
This informs AlwaysUp that Kafka needs the TCP/IP networking stack to start and operate properly:
-
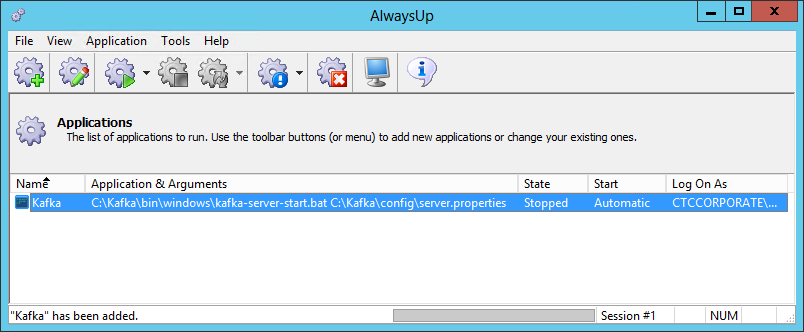
We're now done configuring Kafka to run as a windows service, so click the Save button. In a couple of seconds,
an application called Kafka will show up in the AlwaysUp window.
It will be in the "Stopped" state because it is not yet running:
-
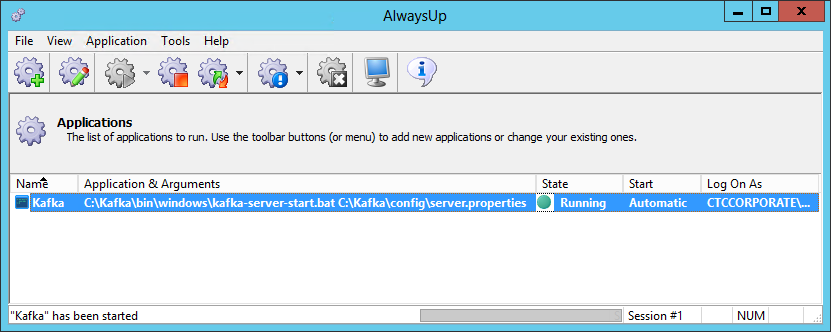
To start Kafka, choose Application > Start "Kafka". The service's state will transition to "Running" soon:
-
That's it! Next time your computer boots, Kafka will start up immediately, before anyone logs on.
We encourage you to edit Kafka in AlwaysUp and check out the many other settings that may be appropriate for your environment.
For example,
capture the output from the console to a file,
boost process priority,
and much more.