Do you manage multiple applications in AlwaysUp?
Across multiple machines?
If so, AlwaysUp’s new “bulk import” feature might make your life a bit easier. 🙂
Instead of adding applications one-by-one (as described in the “How to move your applications” article), you’re now able to import up to 50 applications/services together. This has the potential to save you a ton of time when you have lots of services to move.
Let’s run through the new import process, to give you a feel for how it works.
How to import applications & create new Windows Services
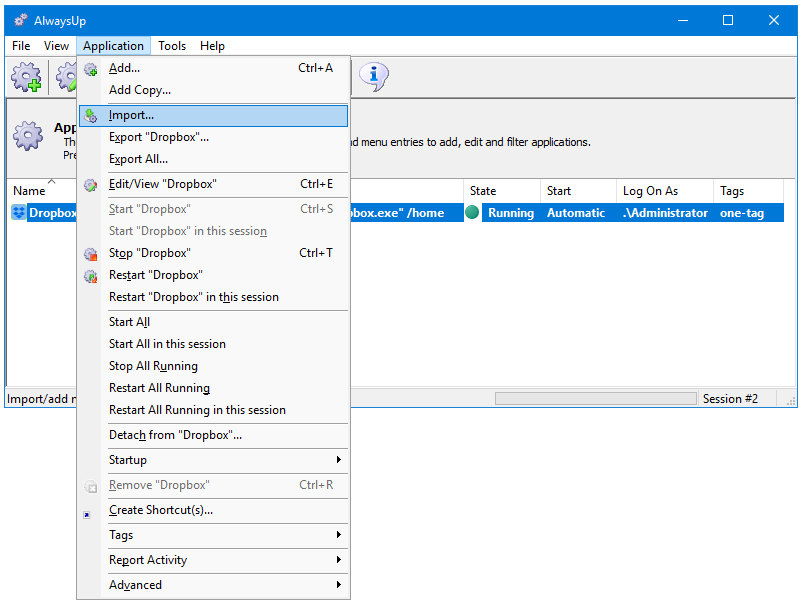
First, choose “Import” from the “Application” menu:
In the file selector that comes up, choose the XML files you wish to import. You can select up to 50.
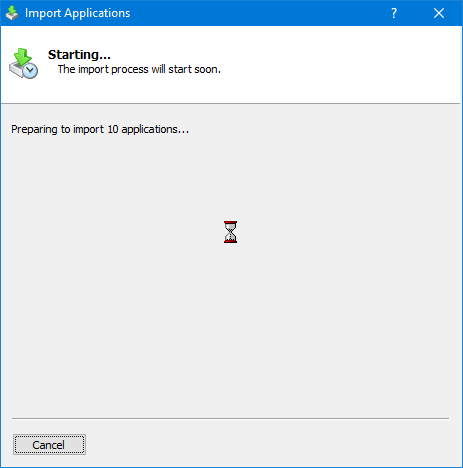
- AlwaysUp reviews your request for a few seconds:
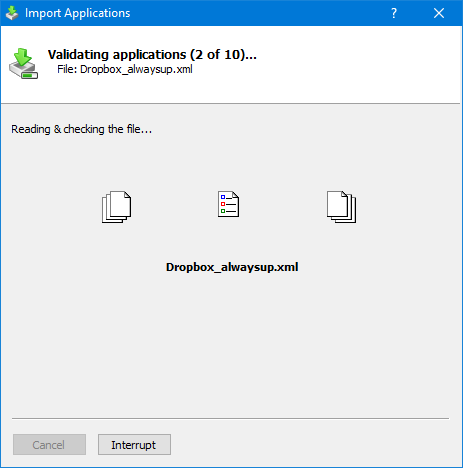
- Next, AlwaysUp examines each file, checking for common errors. Here you can see the Dropbox service being validated:
- Depending on the results of validation, you may encounter one or more of the following “problem” screens.
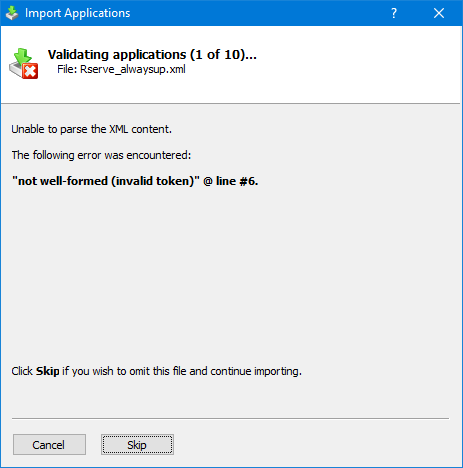
For example, if an XML file is unreadable, corrupt or does not contain valid XML, you may see this error:
Your only option will be to skip the file.
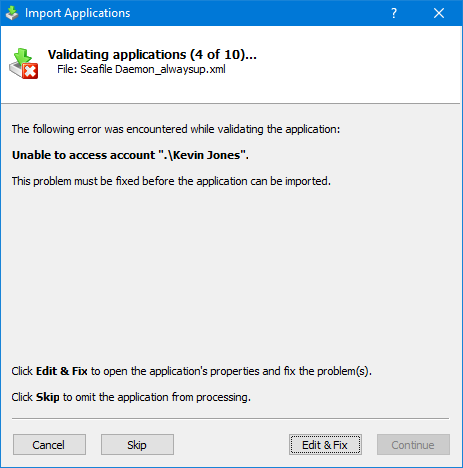
If the Windows account that should run the application is not available, you will receive the following notice:
To fix the problem, click the Edit & Fix button to open the application’s properties, switch to the Logon tab and specify a valid account.
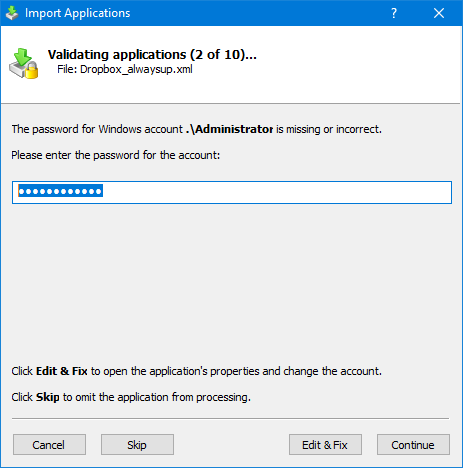
Similarly, if no password appears in the XML file — a common occurrence since AlwaysUp strips away passwords when exporting — a password will be requested:
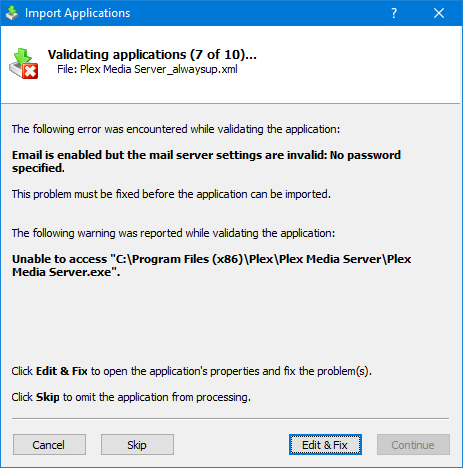
Other errors and warnings may come up as well. For example, the password for your mail server may be missing or the path to your executable may be different on the new server:
Once again, you will have to invoke Edit & Fix to continue.
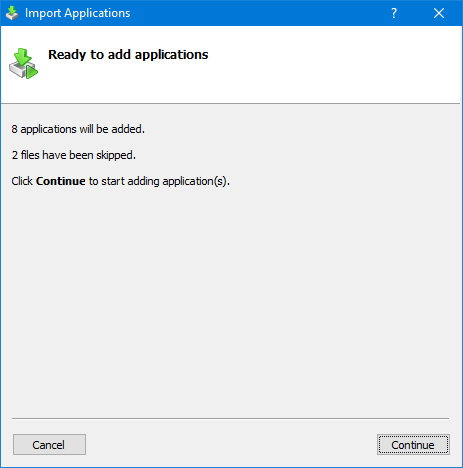
- Once validation is complete, you will be presented with a summary of the results:
So far no applications have been added to AlwaysUp and no new services have been created. If you cancel now, importing would have done nothing to your computer.
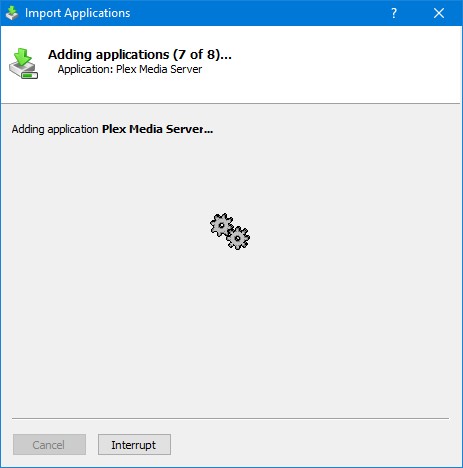
- When you are ready to proceed, click Continue to start the addition/creation phase. Here we see the Plex Windows Service being created:
Note: Even though the files & applications were already validated, you may still run into trouble while services are being created. As before, you will have the opportunity to fix the problem (or skip the application).
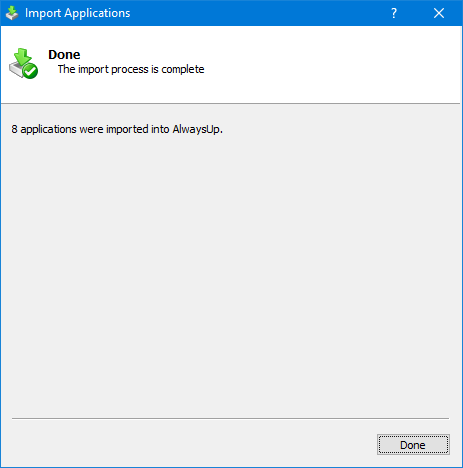
- And finally, the process concludes with a summary of the number of applications created:
All done. Wasn’t that easy?

