Posted onSeptember 16, 2019 (Revised December 16, 2019)
I setup AlwaysUp to run JRiver Media Center as a Windows Service but it’s simply not working. I reboot the server every week and every time AlwaysUp says it can’t log on. These errors come up, over and over:
Help!
— Anonymous
Hi — sorry to hear that the service isn’t starting for you!
From the logs you sent, the key error appears to be this one:
The service did not start due to a logon failure
Windows is saying that it cannot authenticate your account (the one you specified on the Logon tab in AlwaysUp) so it cannot start the service.
The failure is probably due to one of three problems. Answer the following questions to find a solution.
Has your Windows password expired/changed?
If you recently set a new password on your Windows account, the service may be stuck using the old one.
To update the service’s password:
Edit your JRiver service in AlwaysUp
Switch to the Logon tab
Enter your new password:
Save your settings.
Reboot your PC and see if JRiver starts automatically. If not, read on to keep troubleshooting.
Have you specified a domain account on the AlwaysUp Logon tab?
If your service is running in a domain account, it’s possible that the service is starting too soon — before the primary domain controller is ready to accept requests.
Indeed, this can easily happen when your computer is the slow-starting domain controller!
The fix is to delay the start of the JRiver service, to allow the domain controller enough time to launch and initialize. To do so:
Edit your JRiver service in AlwaysUp
Set the Start the application field to Automatically, but shortly after the computer boots:
Save your settings.
Reboot and see if that does the trick!
Is your Active Directory Group Policy overwriting the Local Policy setting for the “Log on as a service” right?
This last scenario applies if your system uses Active Directory and you have specified a domain account on the AlwaysUp Logon tab.
Your Windows account may be losing the right to run as a service when an incomplete group policy overwrites the local policy. Basically, your account is “out of sync” with the Active Directory server.
If you are still seeing the error, something strange is definitely going on with your setup.
Please get in touch to schedule a remote session, where we can troubleshoot your misbehaving service. We’ll do our best to have you up and running soon!
Posted onSeptember 2, 2019 (Revised April 19, 2022)
Python is fast becoming the world’s most popular coding language. It’s no surprise that more and more administrators are turning to the simple, efficient, and ubiquitous platform for a variety of day-to-day tasks.
One question that frequently comes up on Internet forums deals with scheduling:
How do I schedule my Python script to run every hour on my Windows computer?
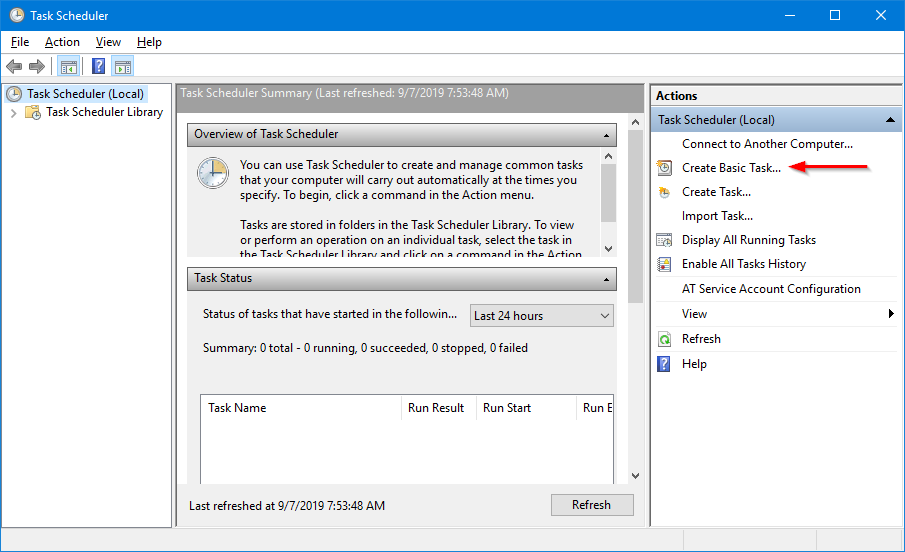
The Windows Task Scheduler seems like it should do the job, but unfortunately it falls short because it has no ability to restart an application at a fixed time. You would have to set up 24 tasks, one for each hour of the day. That’s too much busy work.
You could also create a batch file that runs the script in an infinite loop and launch the batch file with Task Scheduler. That would be easier, but the lack of a fixed schedule means that you wouldn’t know the time when the script would be run. And with zero monitoring and error reporting, you would be left in the dark if the script somehow stopped running — for example, if someone accidentally terminated it. Not a very robust approach.
Instead, we recommend using AlwaysUp. Simply setup your Python script to run as a background Windows Service, then configure AlwaysUp to launch your script each hour on the hour. Here’s how to do that.
1. Install your Python script as a Windows Service with AlwaysUp
First, follow our step-by-step tutorial showing how to run any Python script as a Windows Service with AlwaysUp.
Your Python script will be configured to run once per day but don’t worry — we’ll adjust that in the next section.
2. Restart your Python script every hour, on the hour
Instead of running only once per day, let’s run your script hourly. To make that change:
Edit your Python script in AlwaysUp.
Switch to the Restart tab.
Check the Not immediately and the On the next hour options:
Click the Save button to record your changes.
3. Minimize logging as your script stops and restarts in the background
By default, AlwaysUp will record detailed information (in the Windows Event Logs) whenever the application it is monitoring starts and stops. This is fine for programs designed to operate 24/7, but that logging can be overwhelming for a script that starts and stops frequently.
To reduce the writing to the Event Logs:
Edit your Python script in AlwaysUp.
Switch to the Restart tab.
Check the Minimize event logging as the application stops & starts option:
Click the Save button to record your changes.
And that’s it. From now on, your Python script will run predictably — every hour, on the hour.
Please be sure to get in touch if you have any questions about running your script as a service (or anything else).
After more than a decade in the trenches, Windows 7 and Windows Server 2008 R2 will no longer be supported. Microsoft will stop issuing updates for those operating systems on Tuesday January 14, 2020.
I’m still running Windows 7/Server 2008: What does this mean for me?
After the deadline, your computer will no longer receive Windows updates/patches. This is probably fine for new features and capabilities (who needs those anyway?), but it is potentially lethal for safety and security.
This is because any serious security flaw discovered after January 2020 will not be fixed. Attackers will have all the time they need to break into your computer.
We recommend upgrading ASAP — especially if you are working in a commercial environment. Why put you and your company at risk for a ransomware or other cyber-attack?
Will your software (AlwaysUp, Service Protector, etc.) continue to work on Windows 7/2008?
Yes. For now, all our current software will continue to work with the soon-to-be-retired versions of Windows. We will not be disabling those operating systems in any versions of our Windows Services software that you can download today.
However, at some point we will drop support for 7/2008. For example, AlwaysUp version 13 (expected in 2021) may no longer run on 7/2008. Of course, you will be able to stick with version 12 (or earlier) for as long as you like.
Will you provide support if I’m running Windows 7/2008?
Yes — up to a point. We’ll happily investigate problems on those systems, but realize that our hands will be tied if the flaw is due to a problem in the underlying (now obsolete) operating system.
Ideally I would see the output of the python program as if it were run in command line, to see the traceback if there is an error. For example:
Traceback (most recent call last):
File "", line 1, in
NameError: name 'r' is not defined
— Liam
Hi Liam. I see your problem. It’s important to know when Python runs into a problem, but errors can be difficult to spot when the service’s console — alive and well in the isolated Session 0 — isn’t visible on your desktop.
You have a couple of options:
1. Capture the output of your Python program in a text file
AlwaysUp can capture Python’s command line output to a file of your choosing. That option is available on the Extras tab:
Check the Capture output to this log file box and enter the full path to a (new) text file.
If your script generates lots of text, you may want to prevent the file from growing too large. Check the Automatically trim box and specify the maximum size in megabytes. When the file grows to the maximum size, the oldest 10% will be discarded to make room for new entries. Be sure to tune the max size so that you don’t lose useful data.
With those settings in place, your Python service will write all console/traceback output to the file. Both the standard output and standard error streams will be captured.
Open the file to see what’s going on with your script. Or even better, use the free Tail for Win32 to “track” the file. New lines will appear in real-time — just if you were looking at the Python console.
To confirm our advice, we ran a Python script with a deliberate error (borrowed from this page) and captured the output. Here is the result (with WinTail monitoring the output file):
It works!
2. Run your Python script in the current session, where you will see the console
If you don’t want to configure logging — or you just want to see the console temporarily while debugging a problem — you can instruct AlwaysUp to run the Python console on your desktop.
Simply select Application > Restart in this session and AlwaysUp will temporarily stop Python and “re-parent” it onto your screen:
Your program will run visibly while you are logged in. When you logout, AlwaysUp will automatically return your application to the background (i.e. Session 0).
One final bit of advice…
We recommend that you do your best to thoroughly debug your Python script before running it as a set-it-and-forget-it Windows Service. Dynamic languages like Python need extra attention in that area.
The fewer surprises in production the better, right?
I’m a long-time user of AlwaysUp. Can I rename a service?
— Bonnie
Hi Bonnie.
Unfortunately you can’t rename an application in AlwaysUp. This is because the underlying Windows Services API (which AlwaysUp employs to work its magic) simply does not support that operation. You can change many properties of a service — such as the login account, the startup type and the path to the executable — but not its name.
But all is not lost! You can use AlwaysUp’s “Add Copy” feature to implement a poor-man’s rename…
How to use “Add Copy” to rename your application/service
The basic idea is to duplicate your existing application, give it a different name and remove the original.
To do so:
Highlight the entry you wish to rename in AlwaysUp. (We’ll work with Plex Media Server in this guide.)
From the menu, select Application > Add Copy:
The familiar Add Application window will appear — containing a clone of the entry you highlighted.
In the Name field, remove the default value (“Copy of…”) and enter the name you desire.
We simply added a “NEW” prefix but your change will be more meaningful:
Are you running your application in a specific user account? If so, switch to the Logon tab and enter the password for that Windows account:
You must do this because the “Add Copy” feature does not propagate any passwords — an important security precaution.
And if you are using the email notification feature and have configured an email account with a password, you must re-enter that password as well.
Switch to the Email tab, click the Configure button and type in your password:
We’re done making changes so click the Save button to record your new application. Here you can see our old and new entries, side-by-side:
And finally, delete the original application from AlwaysUp. You no longer need it since you have a new version with the correct name.
Highlight the original, choose Application > Remove and confirm the prompt to complete the process:
That’s it! Apologies for the multiple steps, but that is the best we can do until Microsoft explicitly supports renaming a Windows Service.
As usual, please get in touch if you have any questions about the process.