-
Download and
install
Service Protector, if necessary.
-
Start Service Protector.
-
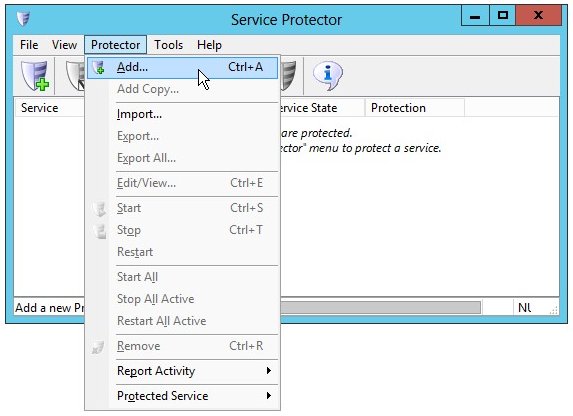
Select Protector > Add to open the Add Protector window:
-
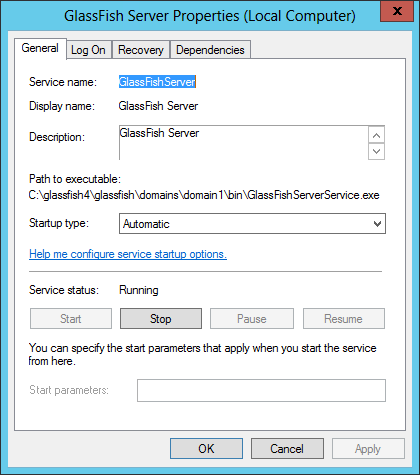
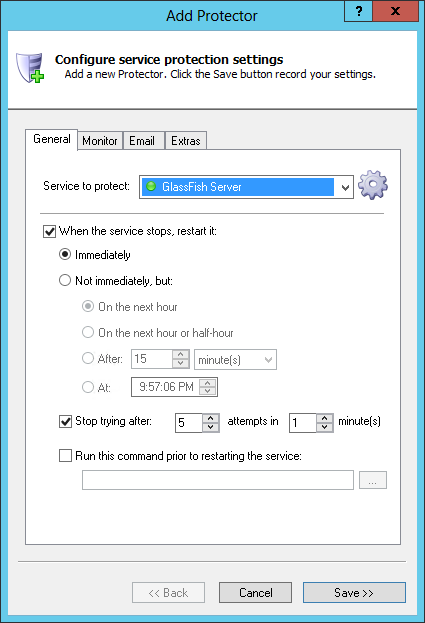
On the General tab, in the Service to protect field, choose your GlassFish windows service.
Your service will probably be named something like domain1 GlassFish Server, the default when installing GlassFish as a windows service, but it could have been renamed to something else.
It is called "GlassFish Server" on our Windows Server 2012 test machine and you will see that name throughout this tutorial.
-
If you find that GlassFish
gets slower over time
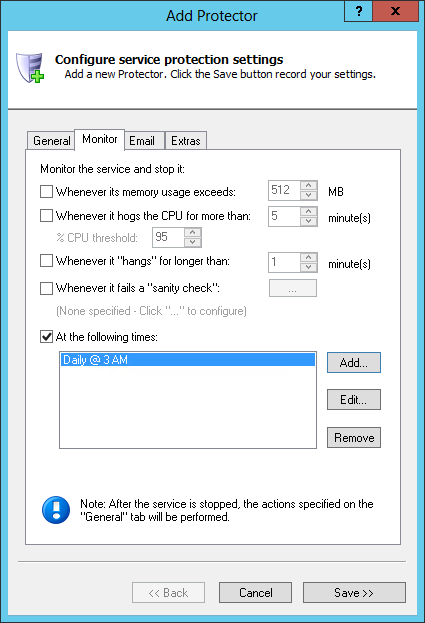
we recommend that you periodically restart the service at a time when no one is likely to be using the server. To do so, switch over to the Monitor tab and:
Check the At the following times box.
Click the Add button.
Specify the day and time to restart the service. We have chosen every day at 3 AM. Note that you can choose to reboot the server at that time if you like.
Click the OK button to record the time.
-
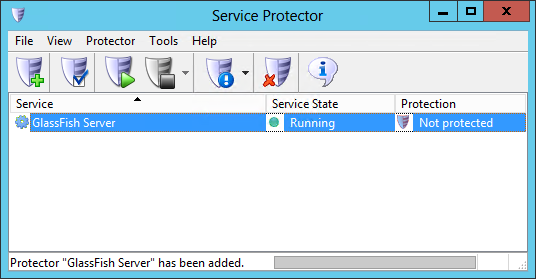
Click the Save button. In a few seconds, an entry for GlassFish will show up in the Service Protector window.
GlassFish is probably already running but it is not yet being protected by Service Protector (as shown below).
-
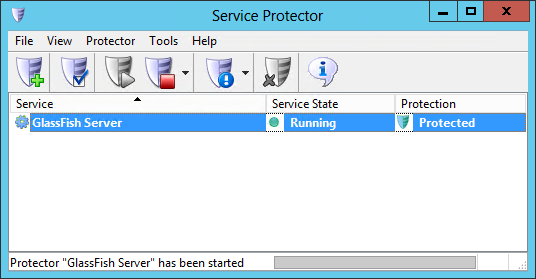
To start protection, choose Protector > Start "GlassFish Server" (or whatever you named your GlassFish service).
In a couple of seconds the shield icon on the right will go to green to indicate that GlassFish is being monitored by Service Protector:
-
That's it! Next time your computer boots, GlassFish will start automatically and Service Protector will start watching the service to quickly restart it if it stops for any reason.
We encourage you to edit the GlassFish entry in Service Protector and check out the many other settings that may be beneficial to your environment.
For example, send an email when the service fails, configure a
sanity check
to monitor the web interface and bounce the service when it fails, and much more.


